Group workspaces
In the “Groups” rubric, members of a project workspace can form subgroups. This is useful for tutorials, working groups, and individual topics. Each group can create their own, private group workspace. It will be part of the project workspace and have the same functions.
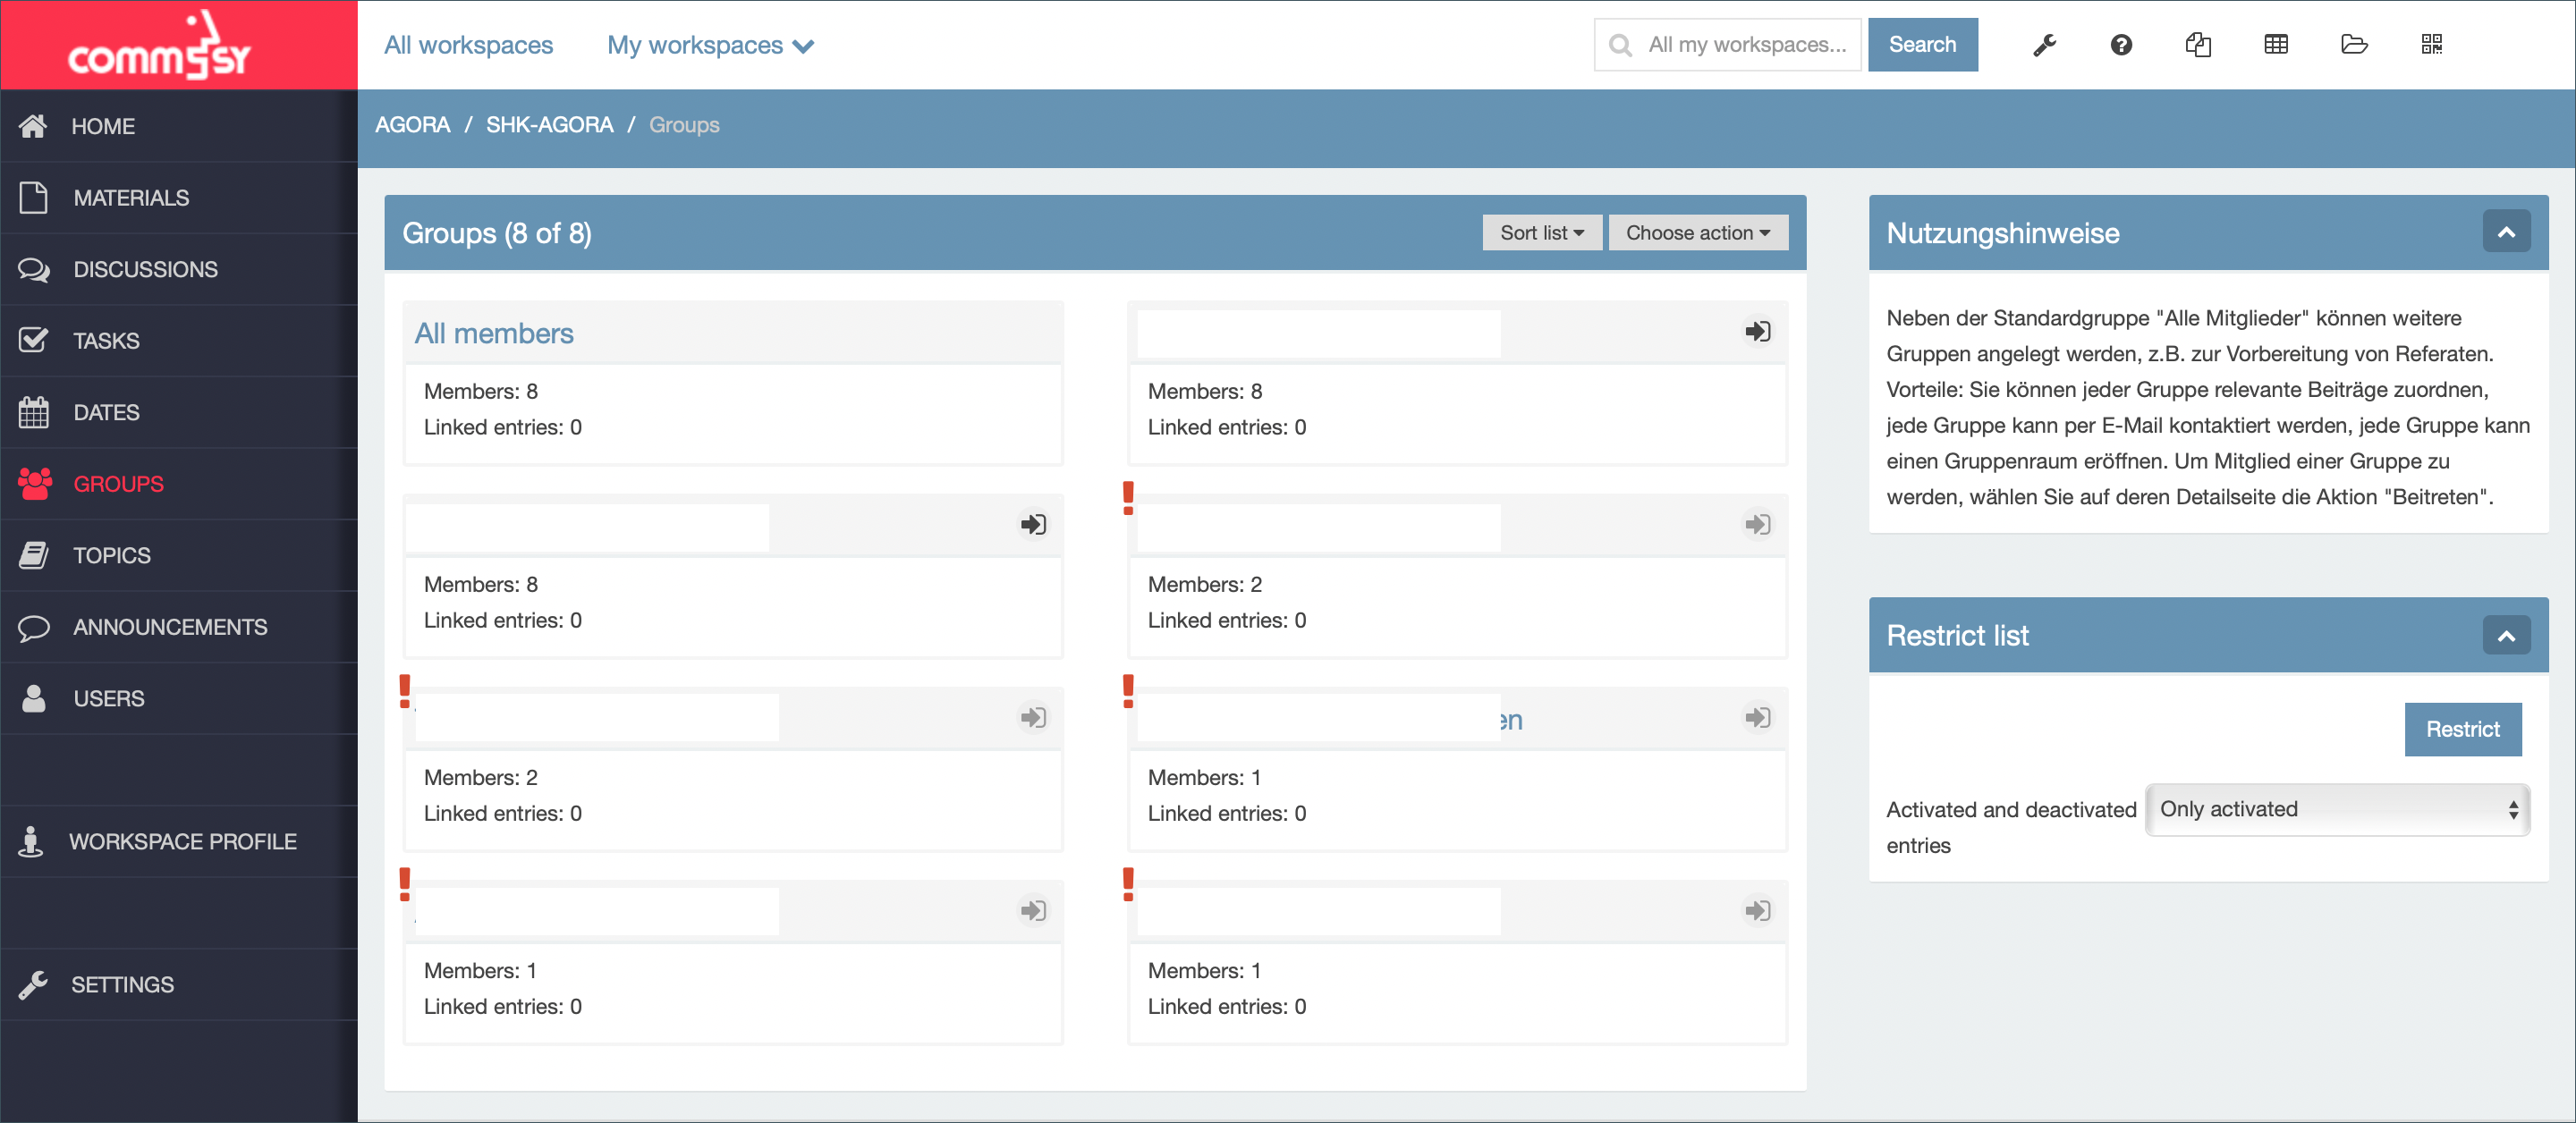
| Note: In addition to the default group “All members”, other groups can be created, e.g. for the preparation of papers. Advantages: You can assign relevant contributions to each group, each group can be contacted by e-mail, each group can open a group workspace. To become a member of a group , select the action “Join” on its detail page. |
1. Show groups
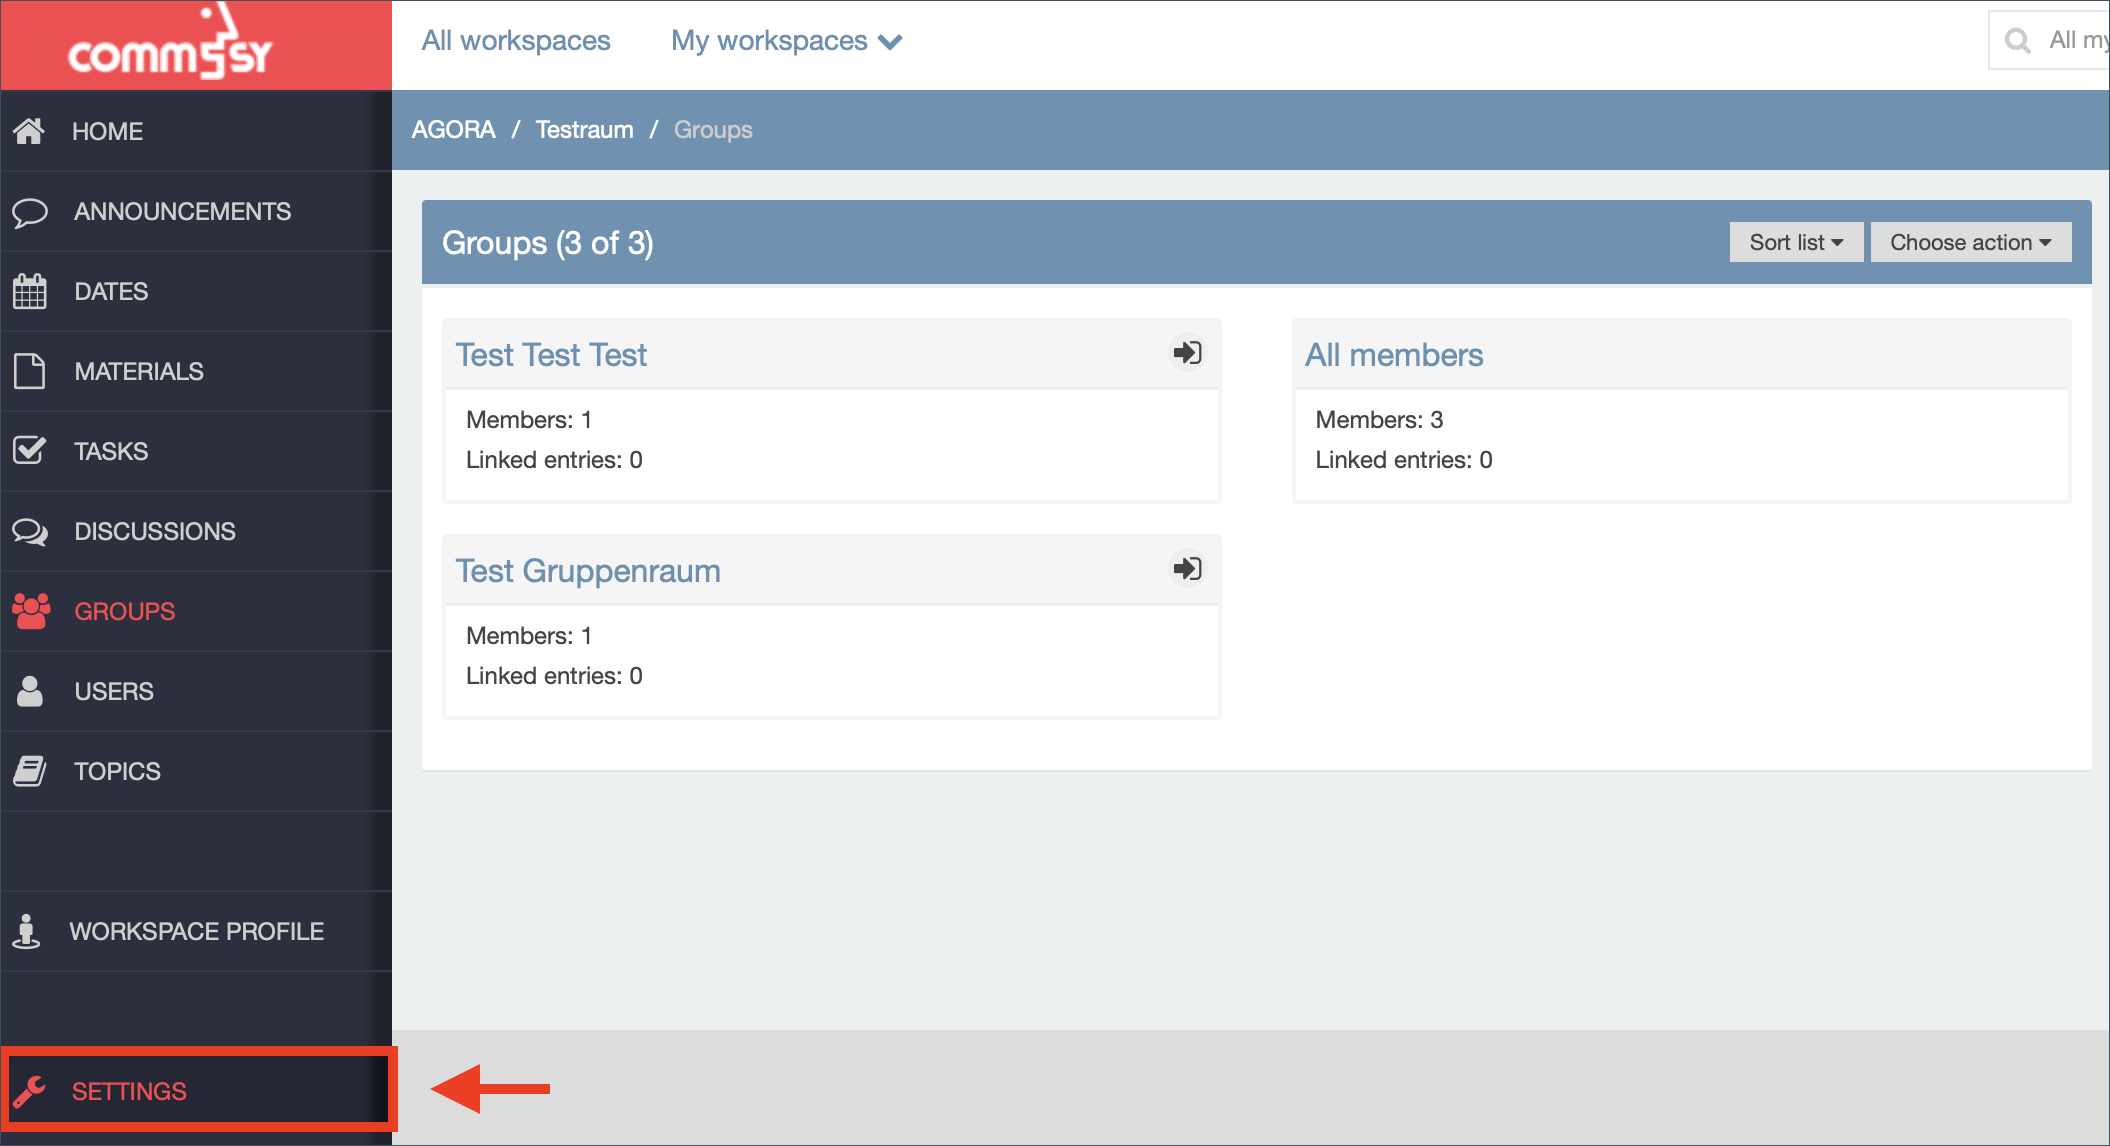
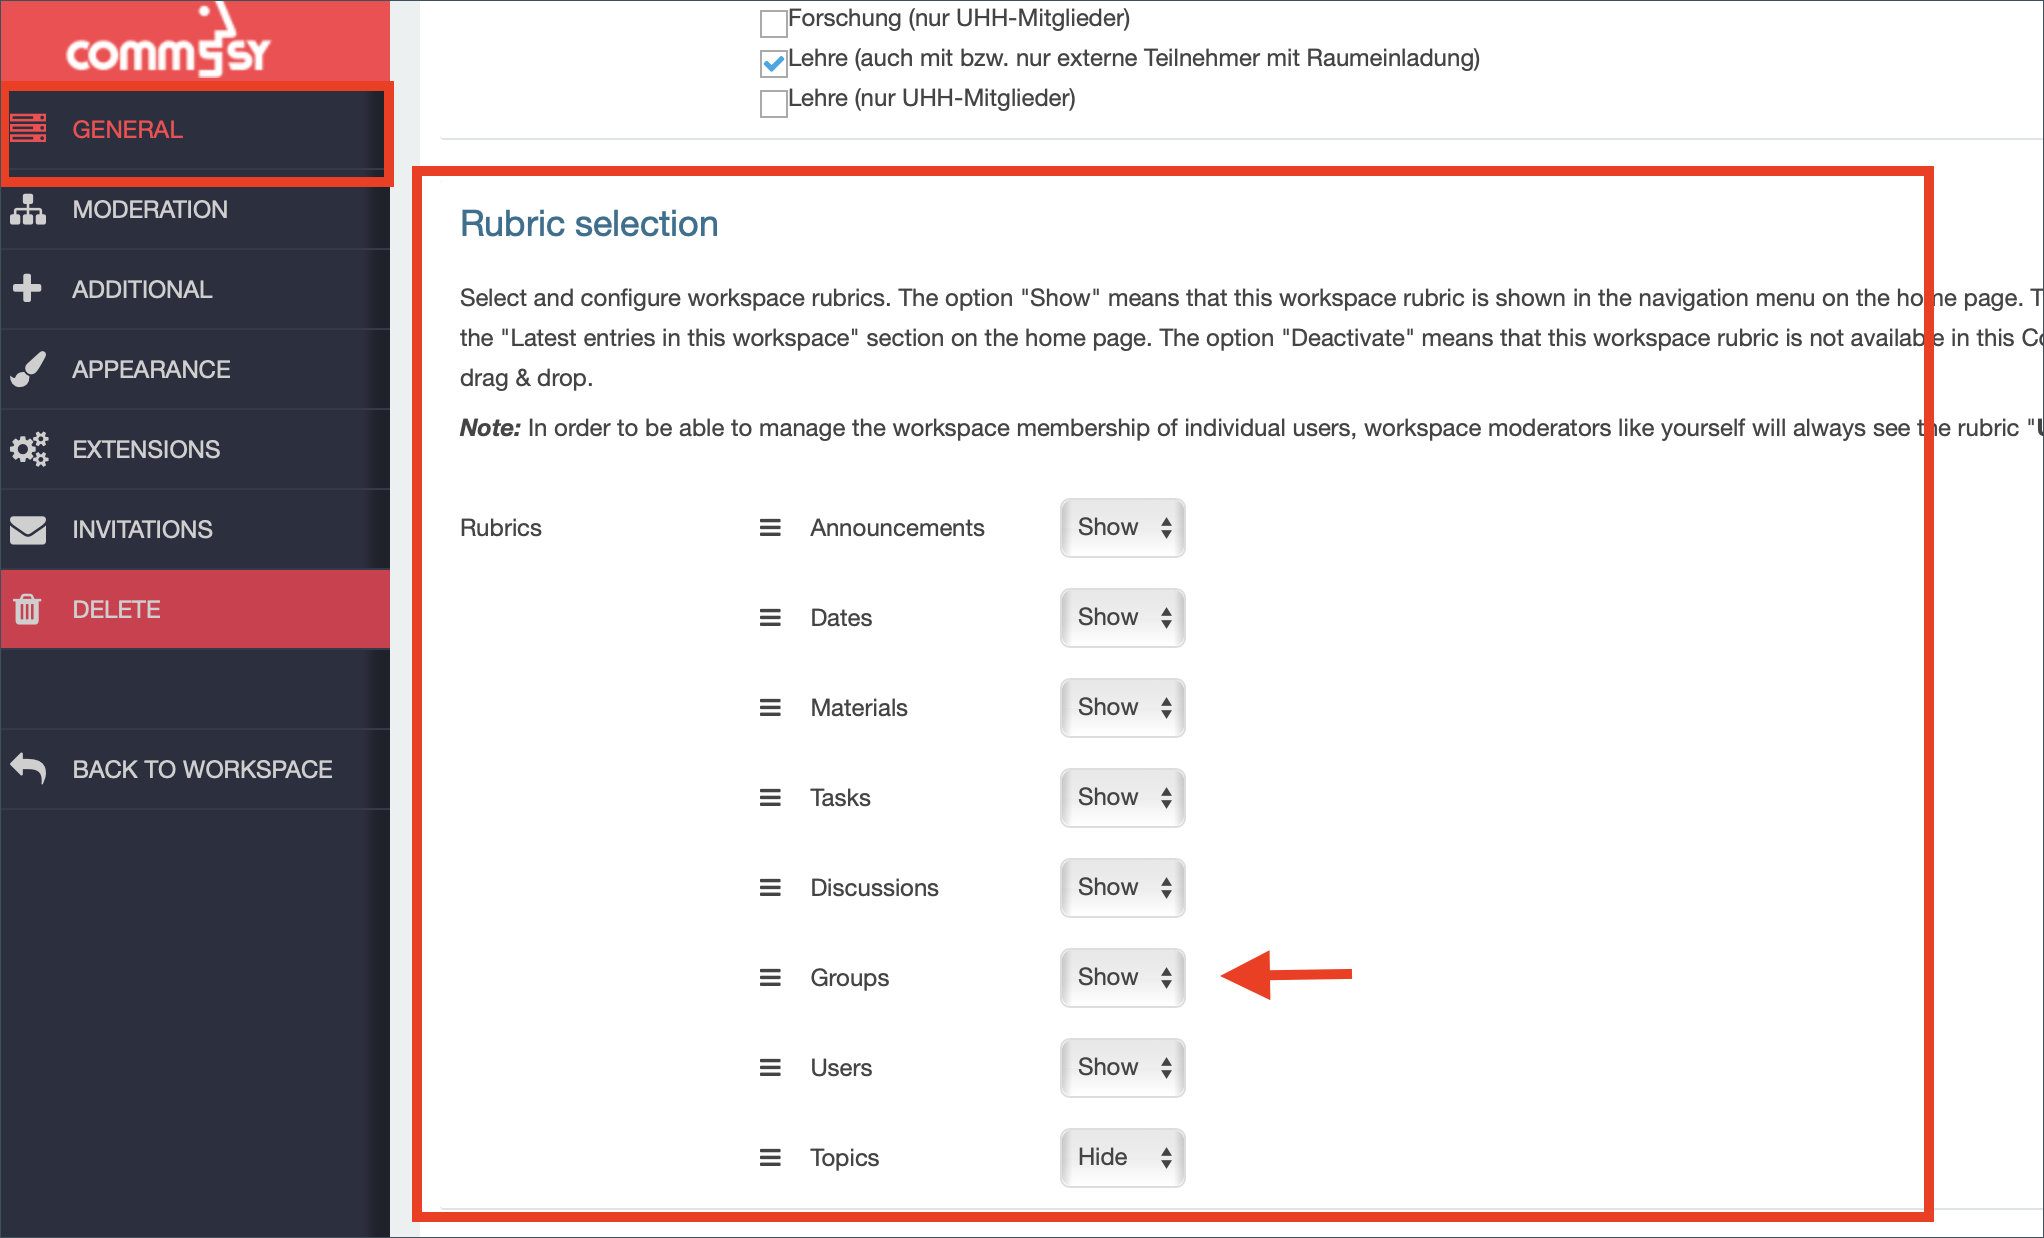
In a newly created project workspace, the “Groups” rubric might not be activated automatically. If you are a workspace moderator, you can change this setting. Navigate to the workspace settings (Fig. 2). Under “workspace settings” (Fig. 3), click the drop-down menu next to “Groups” and select “Show.”
2. Creating a new group
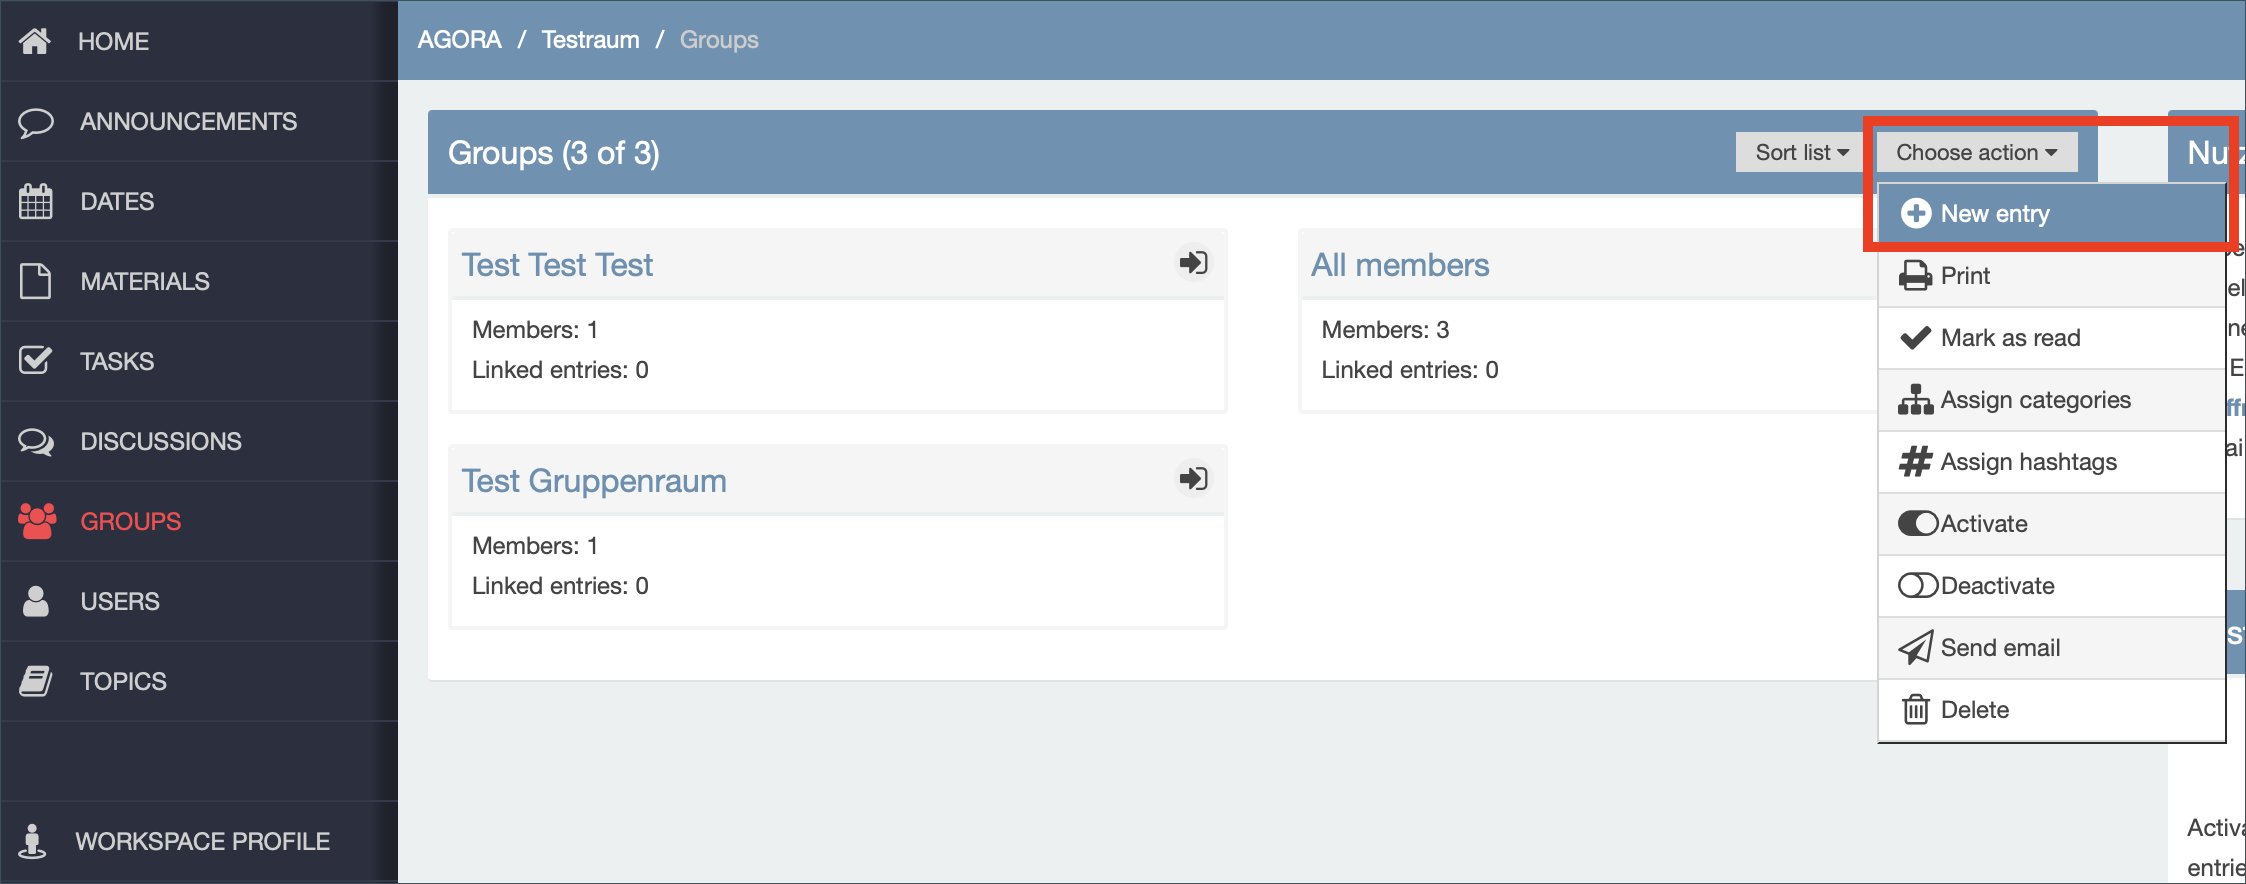
If you want to create a new group, navigate to the “Groups” rubric. Select the option “New entry” in the drop-down menu labeled “Choose action.”
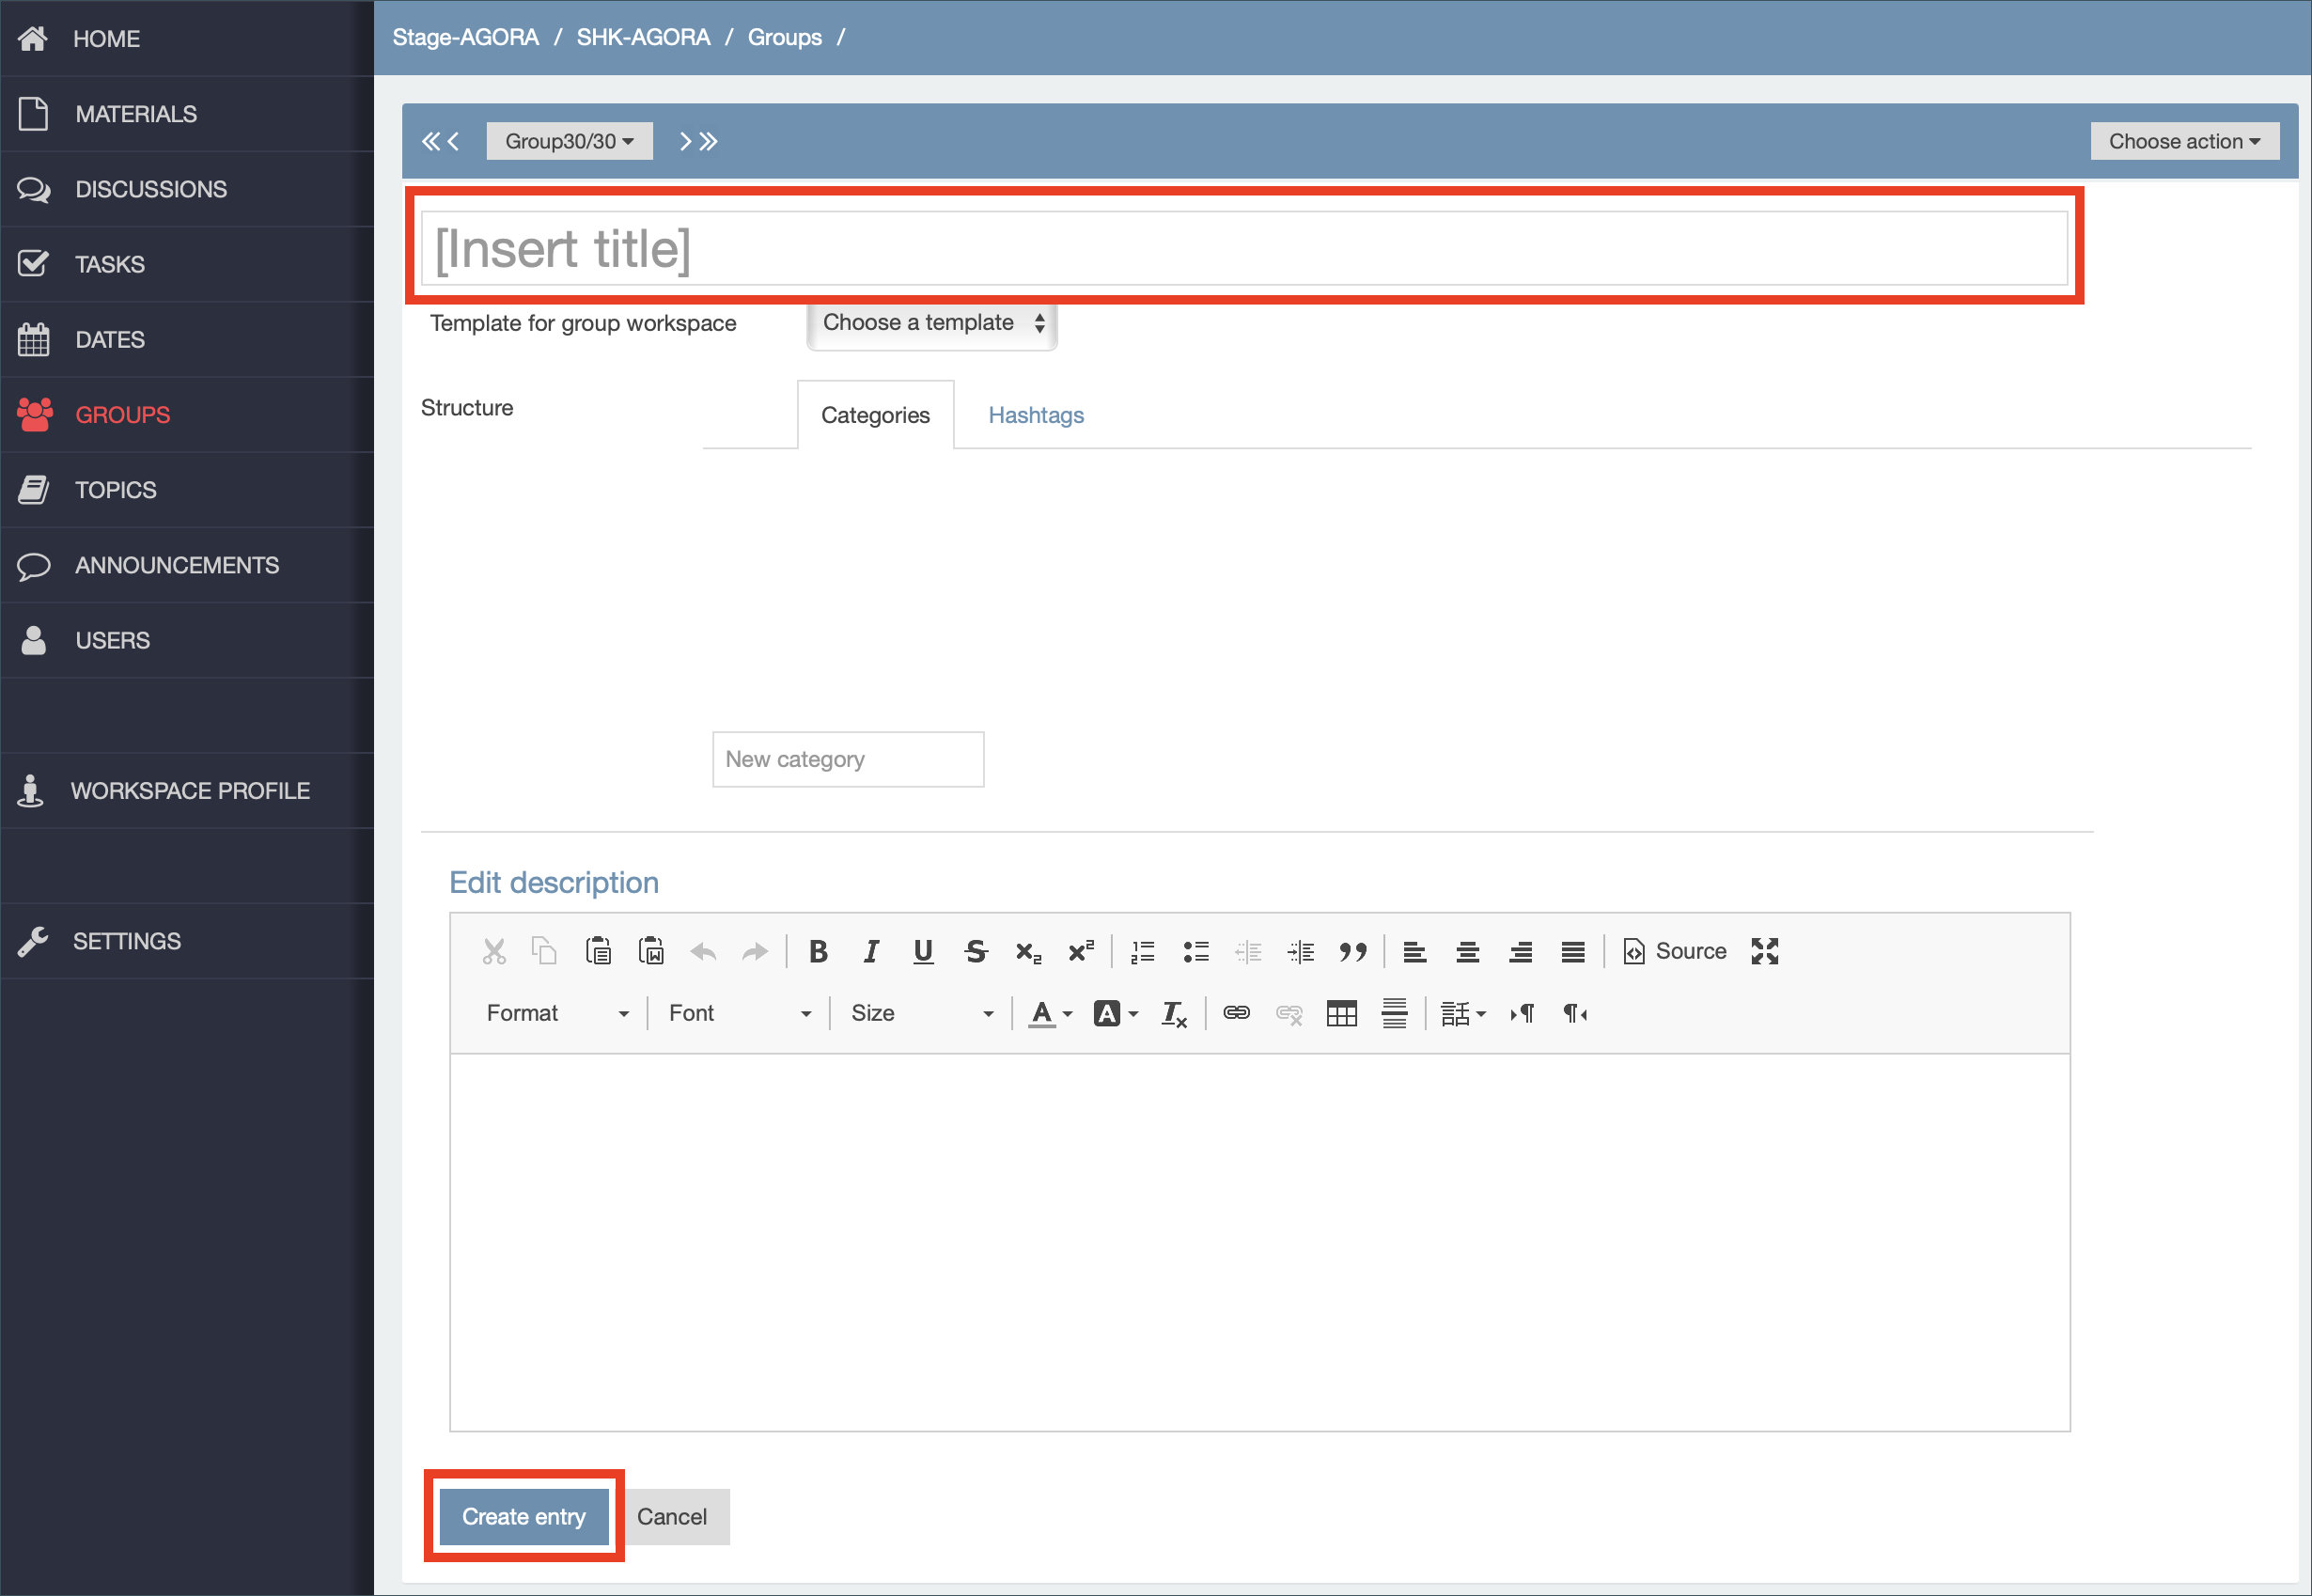
You can give the group a name (“[Insert title]”). After saving the name, you can add a more detailed description. On this page, you can also allocate existing entries (such as related materials) from your CommSy project workspace to the group.
| Note: Group workspaces are automatically deleted when the associated project workspace is deleted. Therefore, back up data that you want to use significantly after an event, for example, externally as well. |
3. Entering a group workspace
Once you have created the group workspace, you can enter and use it immediately.
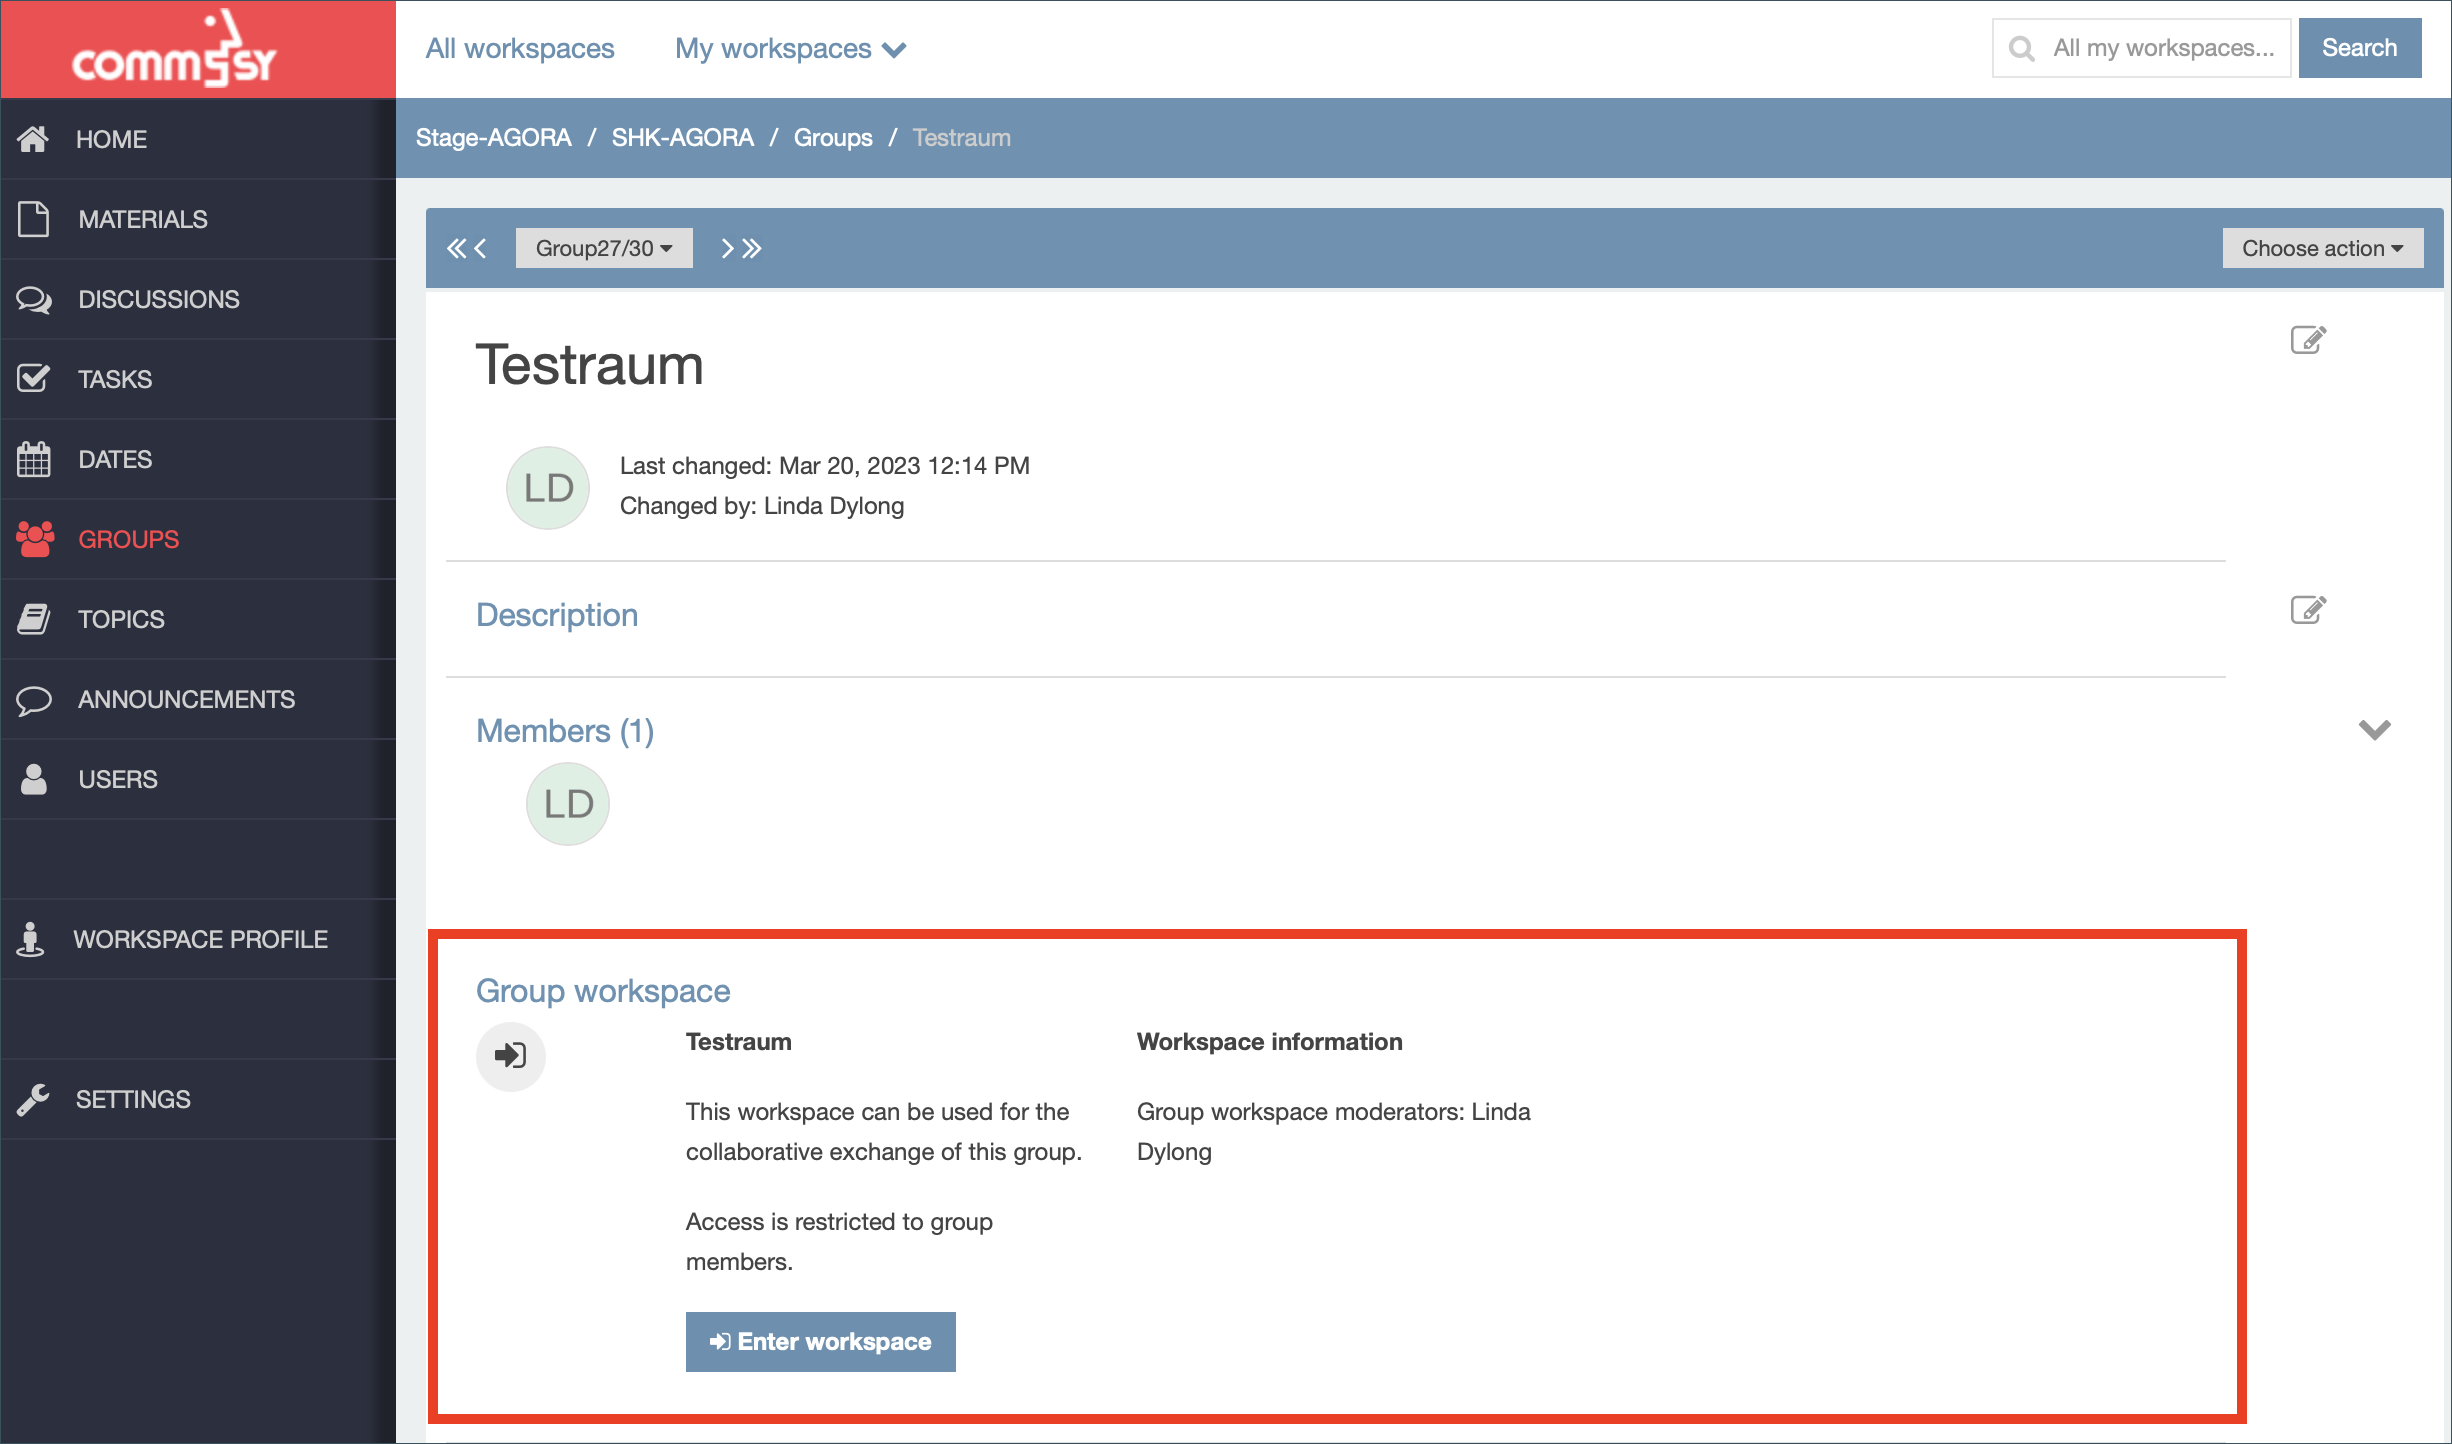
Group workspaces essentially work like any other CommSy workspace, but you can restrict access so only selected members of the primary CommSy project workspace can enter them.
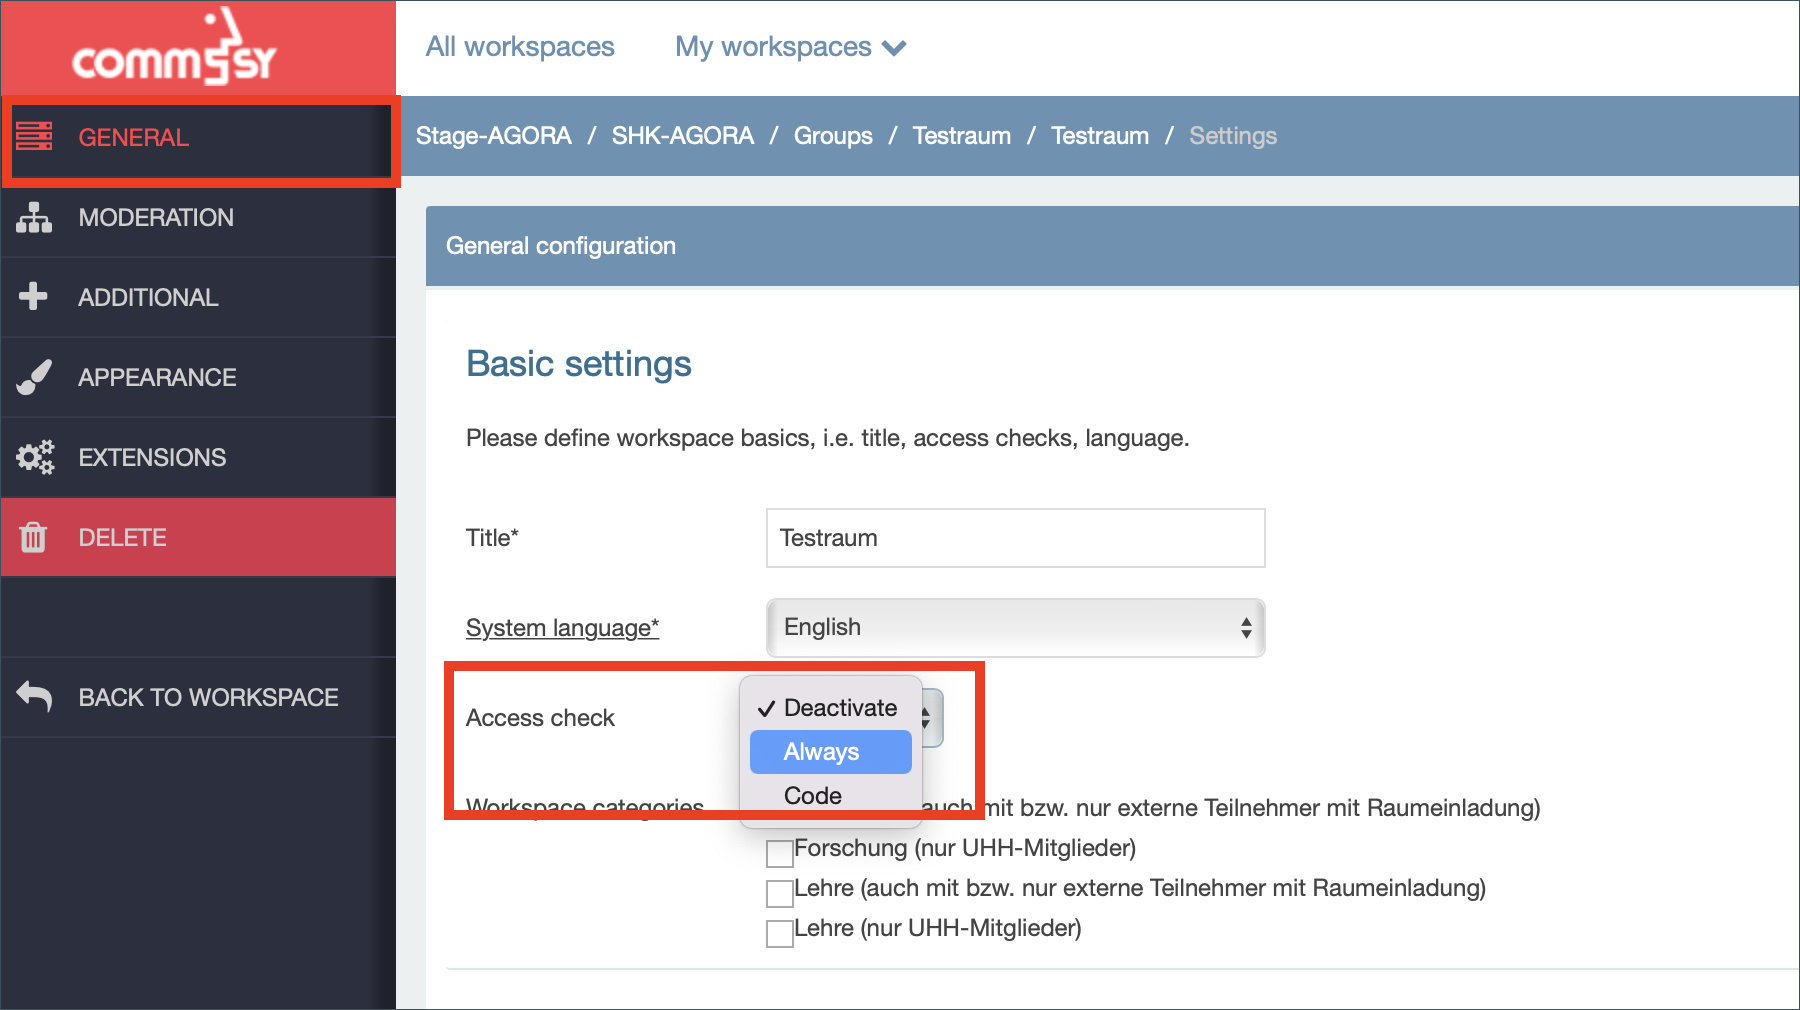
Access to the group workspace: By default, a new group workspace is open to all members of the project workspace to which it belongs. To restrict access, open the group workspace settings. Under “Basic settings”, open the drop-down menu labeled “Access check” and select one of the following options.
- If you do not wish to restrict access to the workspace select “Deactivate”. This opens the group workspace to all members of the primary project workspace.
- If you select “Always” you will receive an e-mail whenever a user requests access. You can manually approve or reject their request.
- If you select “Code” you need to enter an access code into the text field that appears. You can choose any code you like. In this case, users will be asked to enter the code before they can access the group workspace.
